This post contains affiliate links. Please see our disclosure policy.
Want to know the secret to perfectly cooked, fluffy, tender brown rice? Use the Instant Pot! Pressure cooking steams the rice evenly in a few simple steps—add the ingredients, set the timer, and let the appliance do all the hard work for you. In this post, I’ll show you how to make brown rice in the Instant Pot, complete with step-by-step photos, pro tips, and serving suggestions. Let’s cook!
If you’re a fan of Sweet Potato Soul (and I really hope you are!), you might have noticed by now that I’m quite the Instant Pot devotee.
I have a long list of Instant Pot recipes, and it’s one of my go-to appliances, whether making Instant Pot white beans, Instant Pot Pasta, Vegan Curry, Mexican rice, Black Bean Soup, and so much more. I love how it cooks evenly with minimal hands-on work or mess. It’s also a miracle worker for grains, cooking them to to tender-fluffy perfection every time.
When it comes to brown rice, the Instant Pot is no different! In fact, it’s the only way I’ve made rice since I first got my Instant Pot in 2018. Not only can I set it and forget it, but the rice is tender and fluffy every time—just as good, if not better than, a rice cooker!
Ingredients
You only need a handful of everyday ingredients to make brown rice in the Instant Pot, such as:
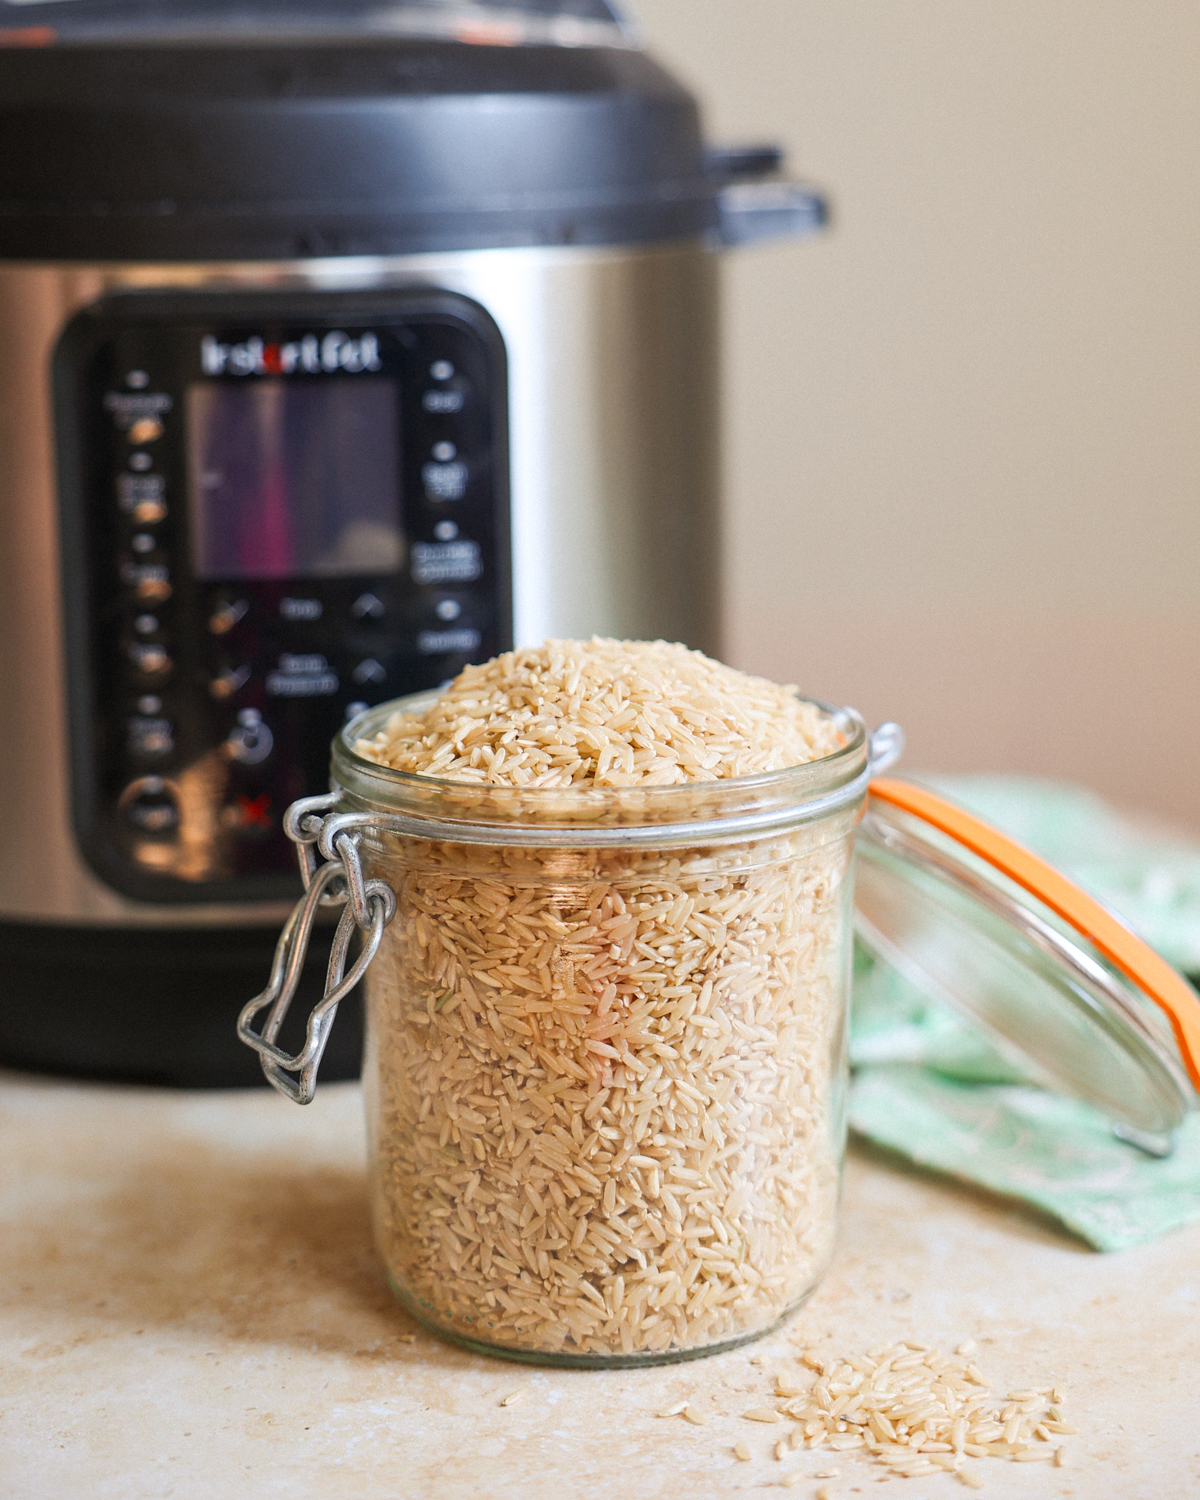
Brown Rice: Of course! You can use this recipe to make nearly any variety—such as short grain (such as sushi, Calrose) or long grain (such as American long-grain, Jasmine, or basmati)—the choice is yours. I usually use brown Basmati that I buy at Costco.
Water or Broth: Filtered water keeps the flavor neutral, while vegetable stock or broth adds savoriness.
Salt: Enhances flavor, but you can omit it for lower sodium.
Recipe Variations
Tailor this Instant Pot brown rice recipe to your taste preferences or meal by making any swaps or switches:
Seasonings: Sprinkle on up to 1 teaspoon of dried herbs, such as Italian seasoning, basil, Herbes de Provence, oregano, or parsley.
Broth: For an extra savory, umami flavor, swap Mushroom Stock for vegetable broth or water.
Olive Oil or Butter: Add richness by fluffing the cooked rice with 1-2 tablespoons of olive oil or vegan butter.
How to Cook Brown Rice in the Instant Pot
When you see how simple it is to make pressure cooker brown rice, it might just become one of your go-to side dishes—or a staple grain for adding to recipes.
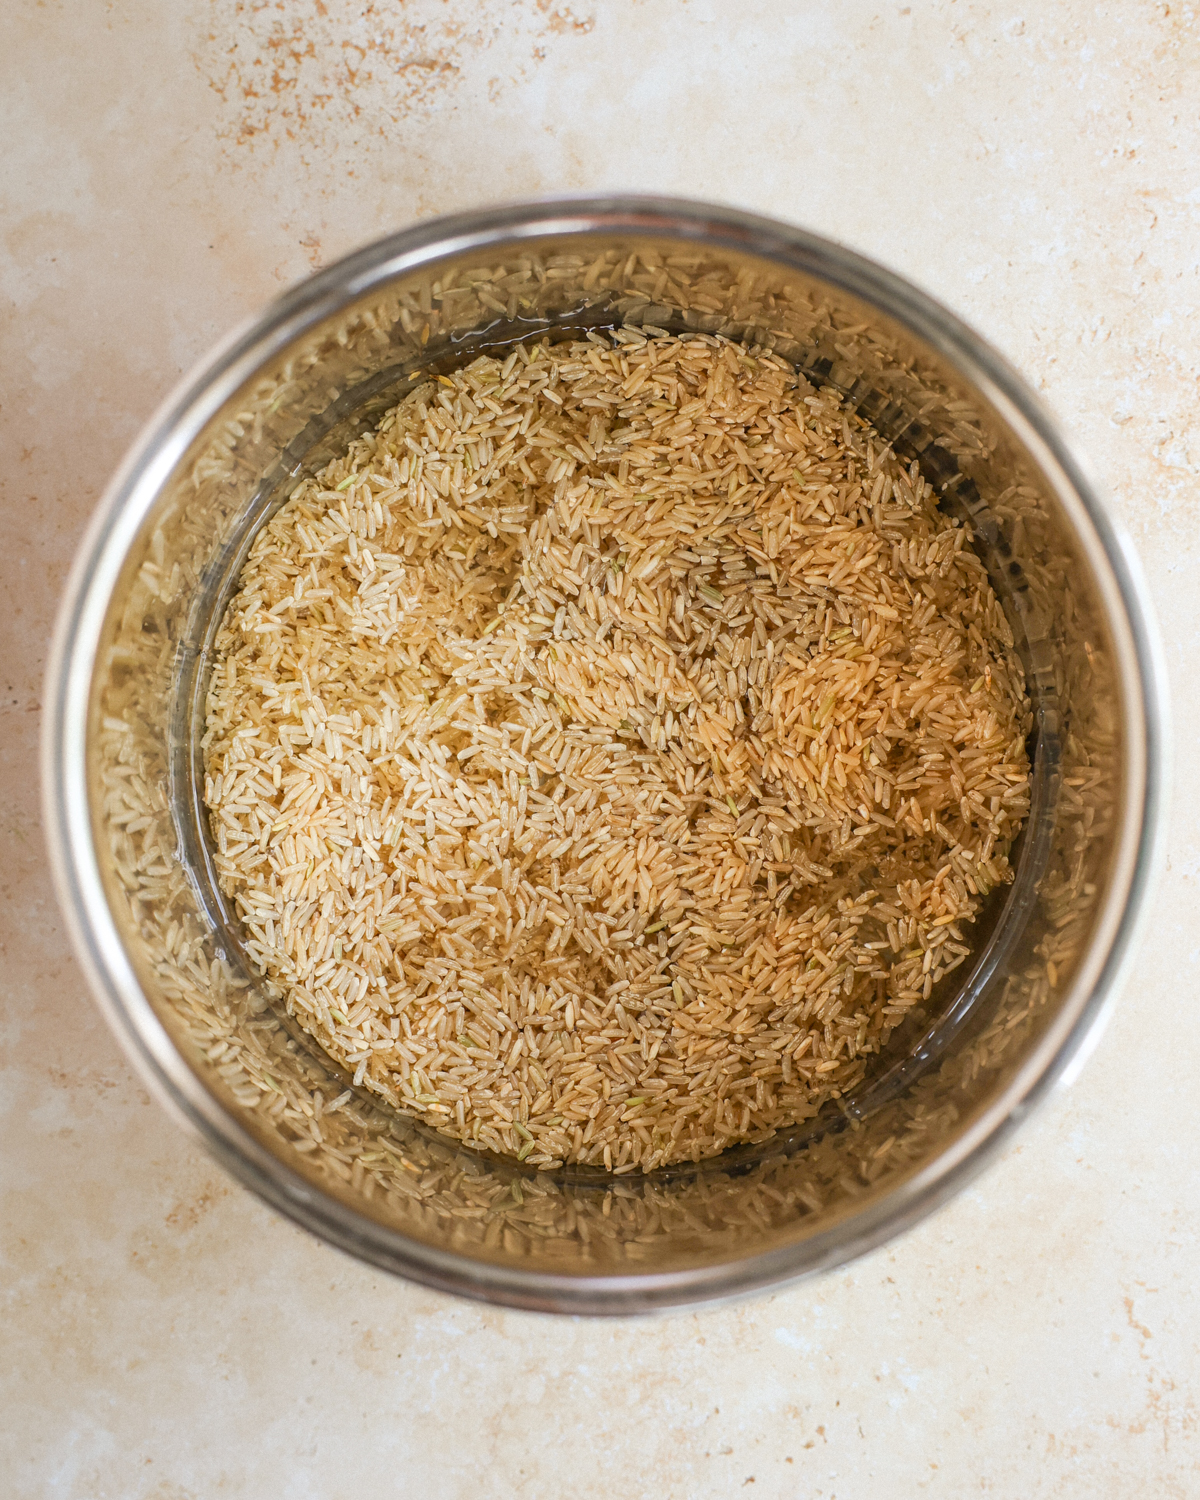
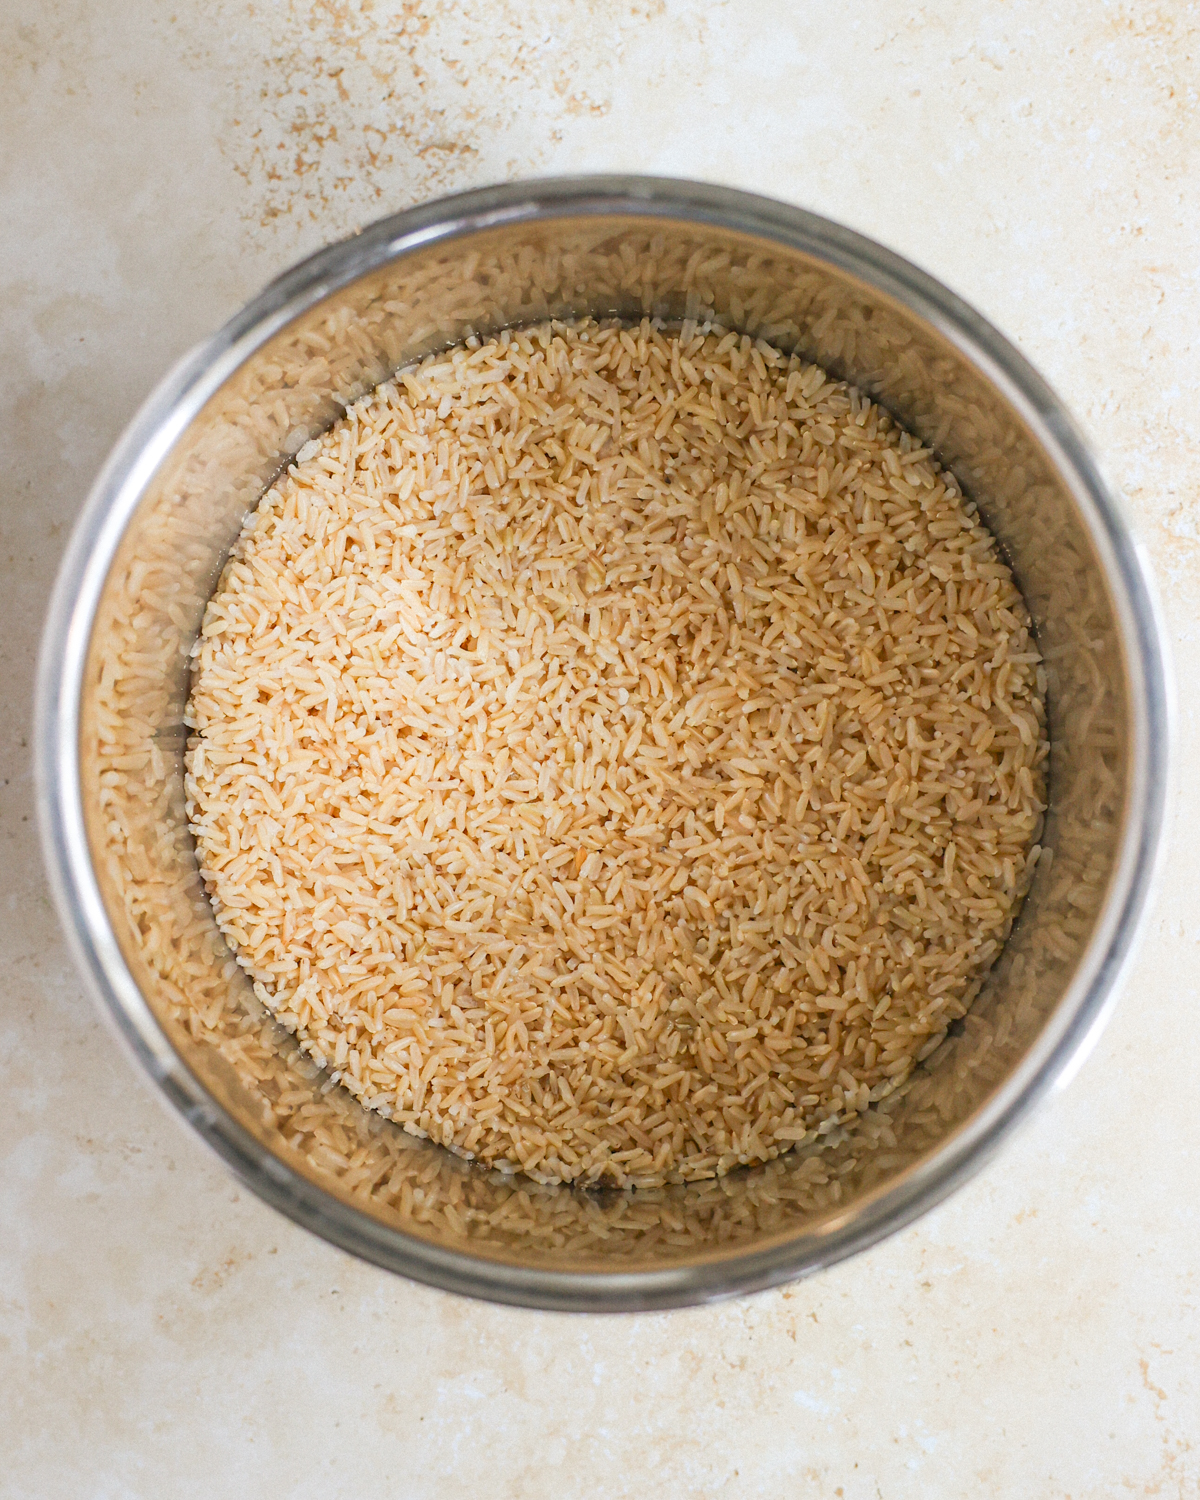
- Combine. Add the rice, water (or broth), and salt (optional) to the Instant Pot.
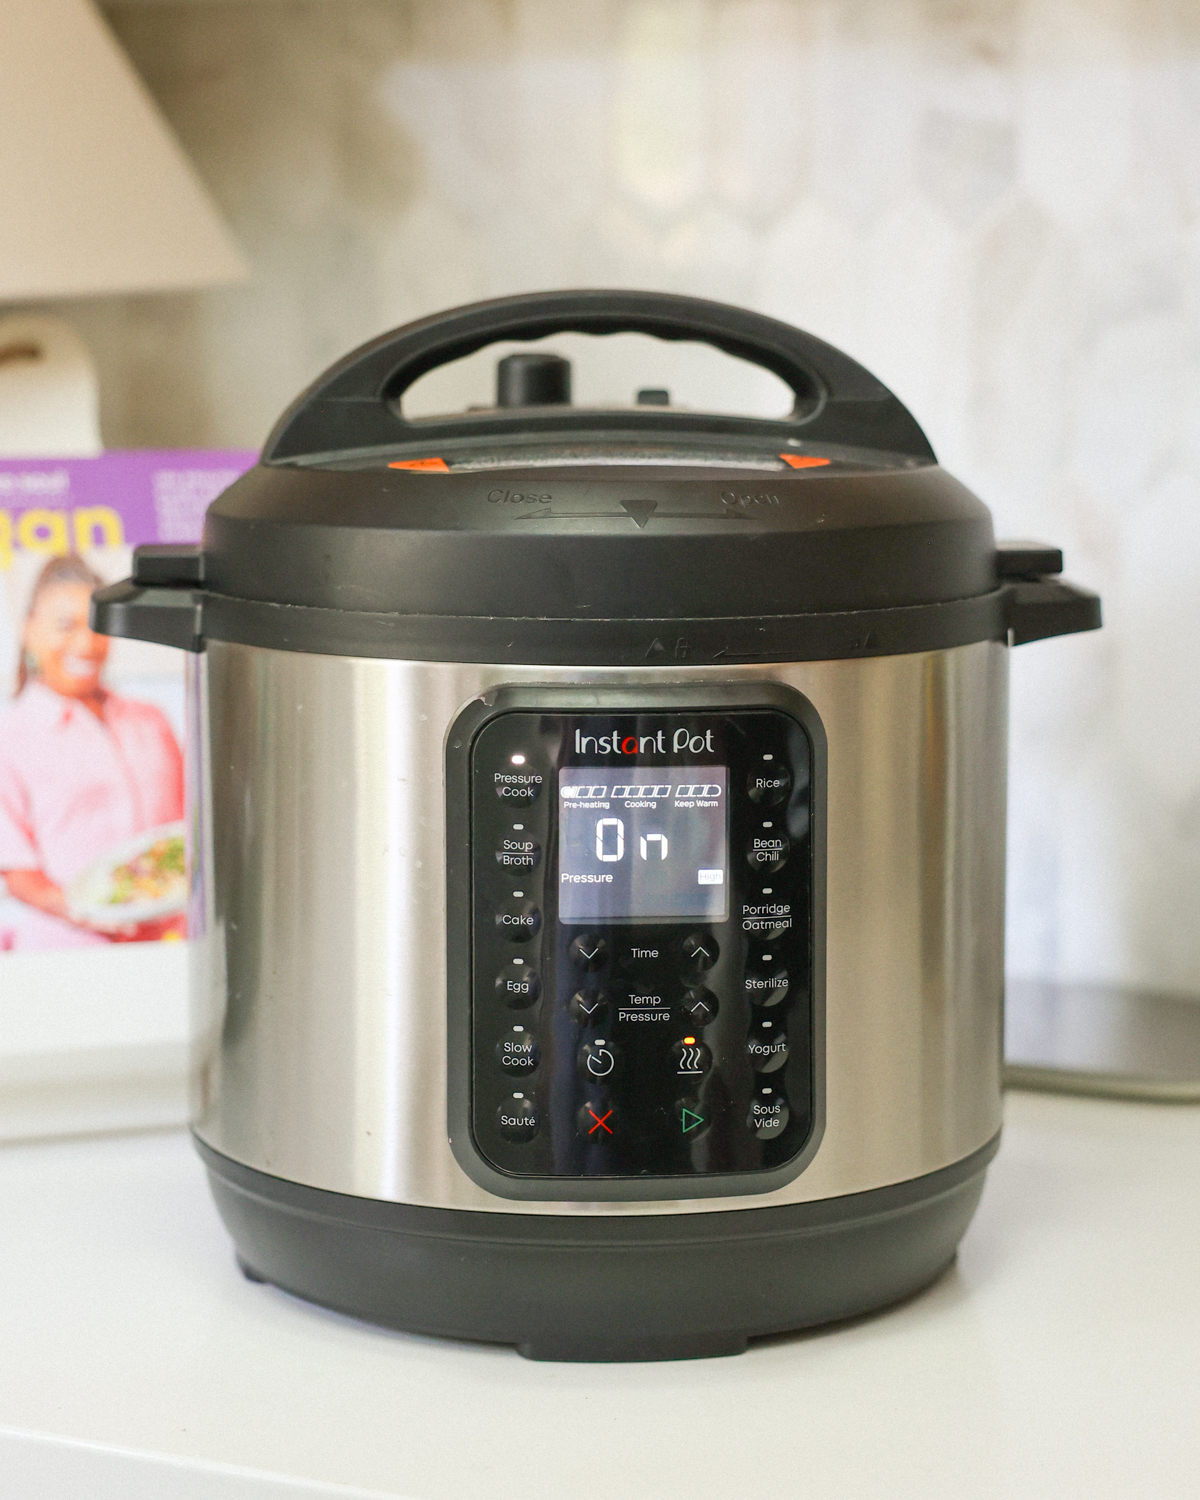
- Cook. Pressure cook on HIGH for 24 minutes.
- Release Pressure. Let the Instant Pot naturally release pressure for 10–15 minutes, then manually release any remaining pressure.
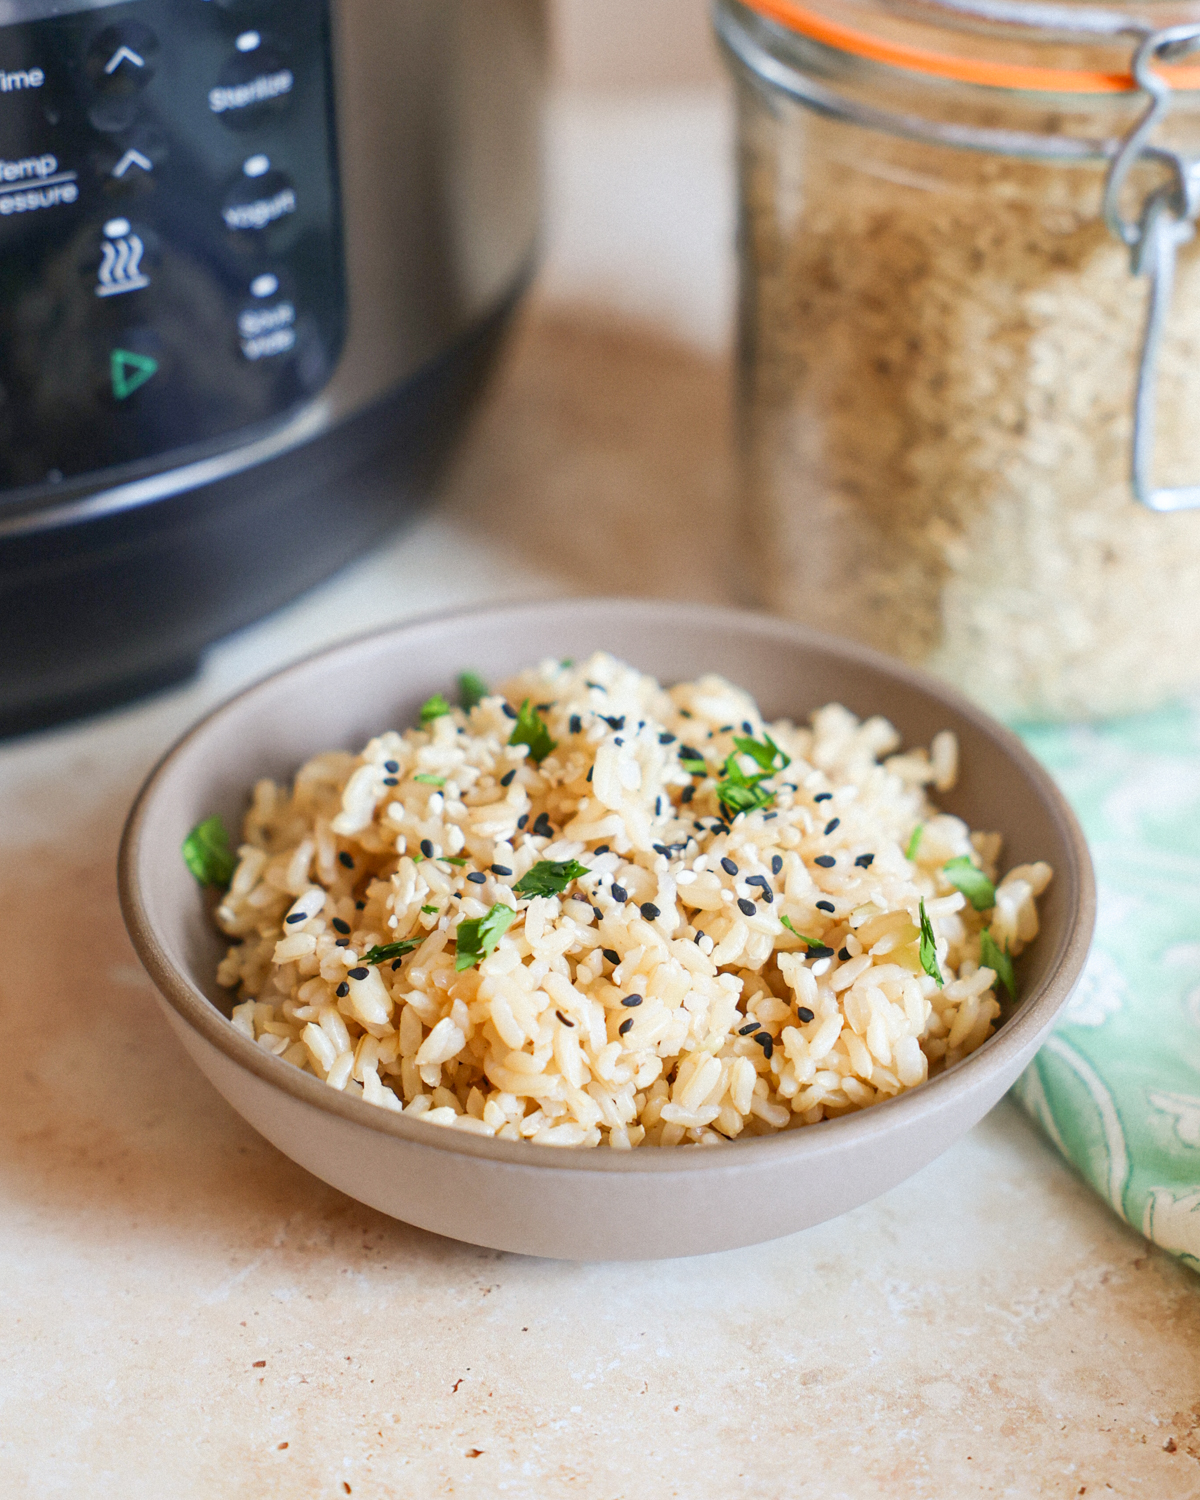
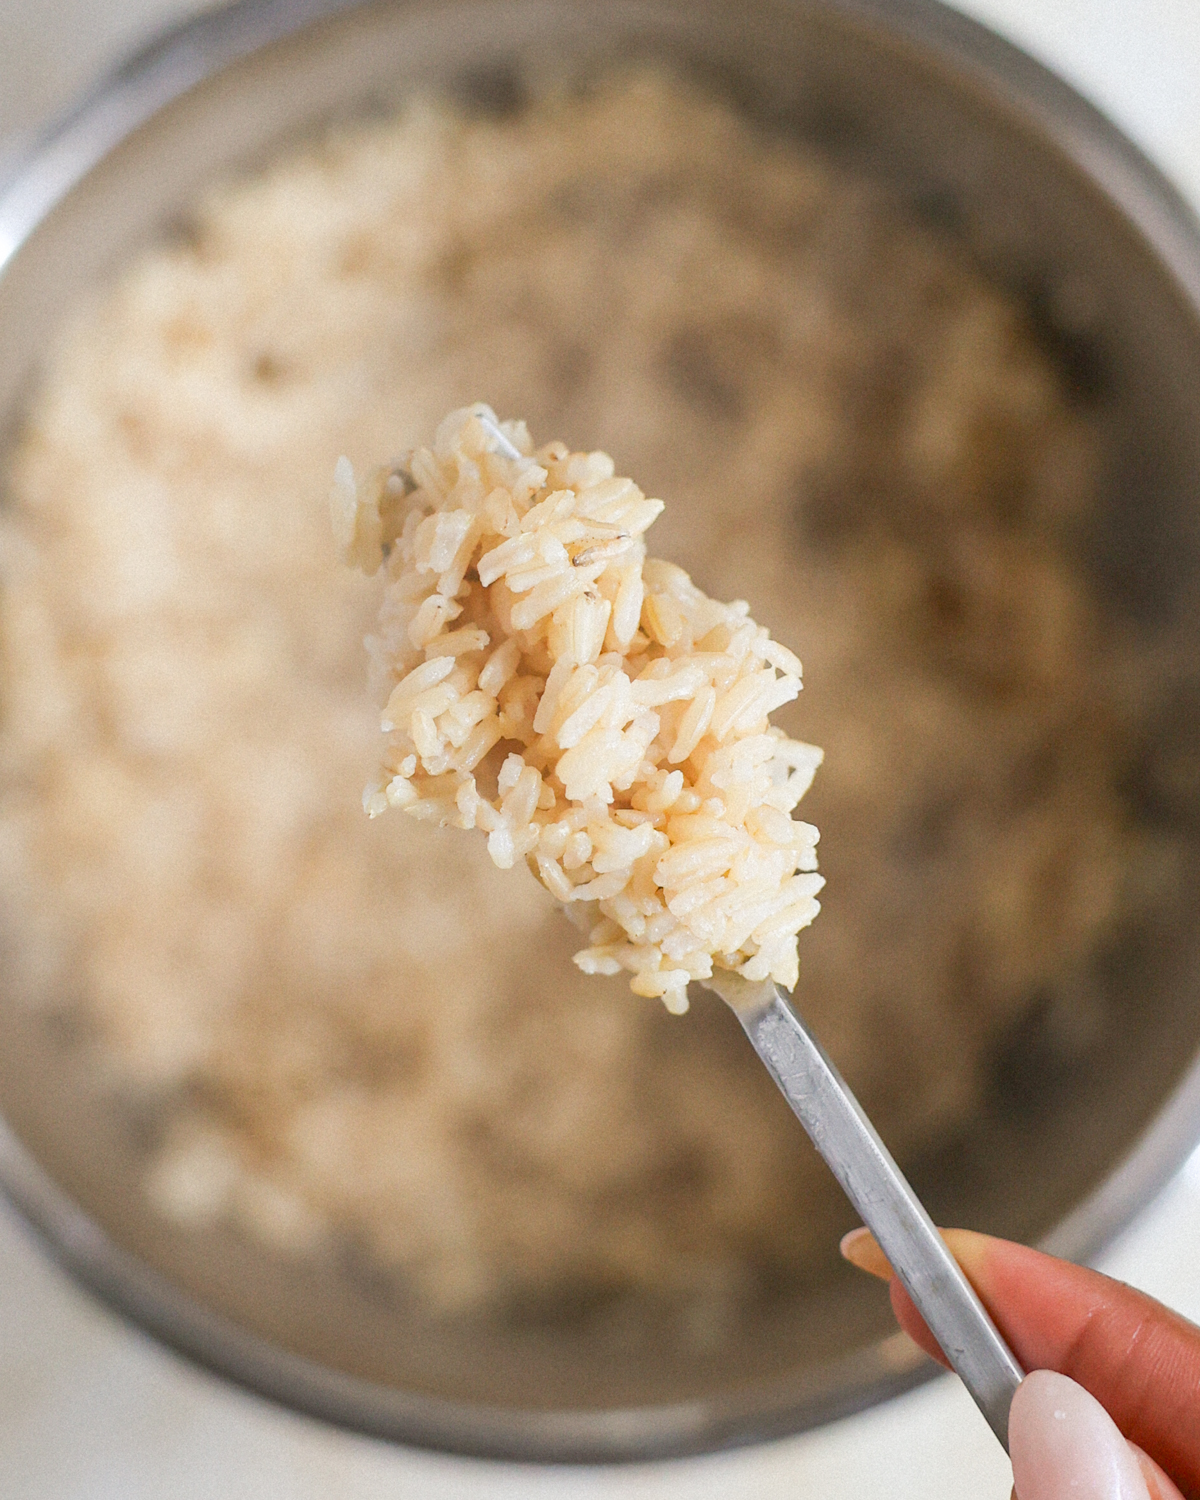
- Enjoy. Remove the lid, fluff the rice with a fork, and use as desired.
Jenné’s Recipe Tips
- Don’t Worry About Rinsing: While you can rinse the rice if you prefer, it’s not necessary. Simply add the dry rice to the pot with the liquid and salt, then start cooking—it’s that simple.
- Make a Large batch: I recommend cooking at least 2 cups at a time. Larger batches of rice tend to cook better in the Instant Pot thanks to better steam retention and a reduced risk of scorching or dry spots. To meal prep rice for the week, double or triple the recipe and pressure cook for the same amount of time (24 minutes); the Instant Pot will naturally adjust the time it takes to come to pressure.
- Fluff, Don’t Stir: Use a fork or rice spatula to gently fluff the rice, keeping the grains separate and releasing any trapped steam. Avoid stirring, as this can cause the grains to clump and create an inconsistent texture.
- Season After Pressure Cooking: While you can cook the rice with salt, other seasonings—such as fresh herbs, spices, and acidic ingredients—are best added after cooking for the brightest flavor and best texture.
Serving Suggestions
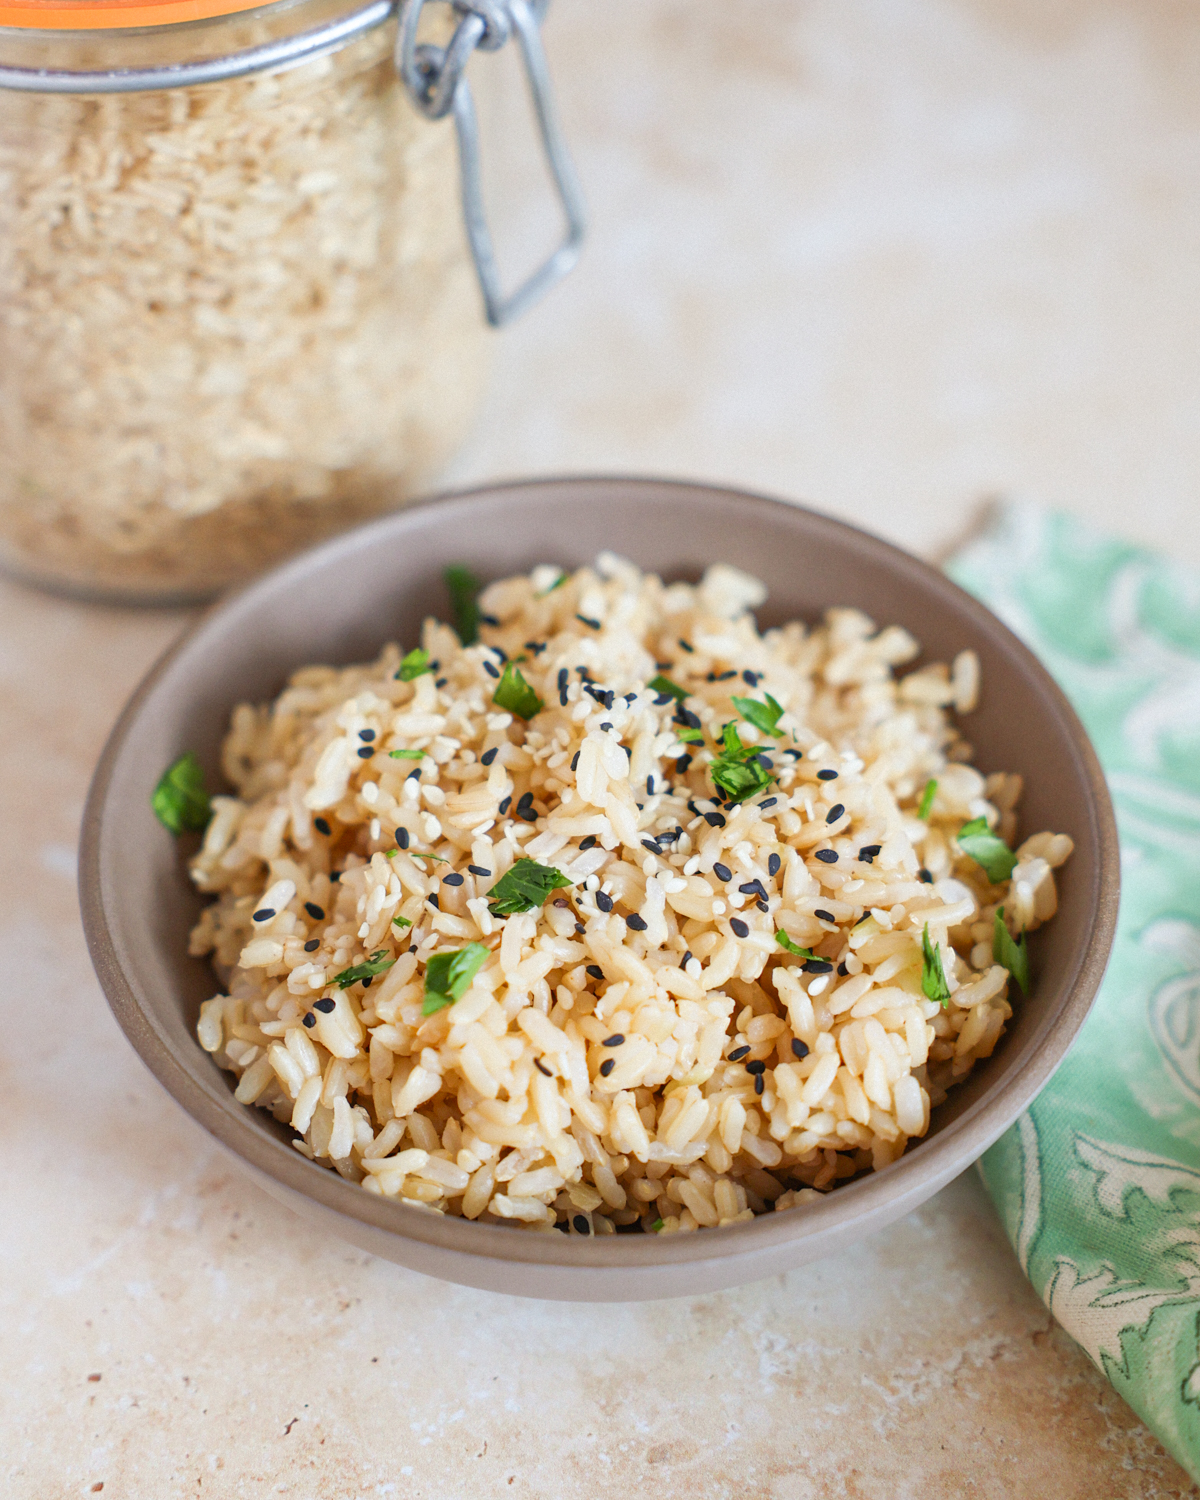
Now that you have your perfectly fluffy and tender brown rice, it’s time to enjoy it! Go classic and serve it with Tofu Stir Fry, Sofritas, Tofu Chili or Sweet Potato Black Bean Chili; add it to a Buddha or burrito bowl; serve it with soul food classics like Mushroom Etouffée or Vegan Hoppin’ John; fold it up in a burrito or breakfast burrito; or enjoy it as a simple side. The options are nearly endless!
Storage Directions
- Refrigerating: Once cooled to room temperature, store the rice in the fridge for up to 5 days.
- Freezing: Cooled rice can be frozen in a freezer-safe container for up to 3 months. For easier defrosting, freeze it in portions using a silicone tray.
- Reheating: Warm the rice in the microwave on gentle heat or in a saucepan with a splash of water or broth until heated through.
Frequently Asked Questions
Cook brown rice in the Instant Pot on High Pressure for 24 minutes. Some short-grain varieties (such as sushi rice) may only need 22–23 minutes, but I recommend starting with 24 minutes and adjusting the time for future batches as needed.
After much testing, I’ve found that the best ratio for light, fluffy rice is 1 ¼ cups of water for every 1 cup of rice. Some short-grain varieties may need slightly less water; for best results, start with this ratio and adjust down in future batches if needed.
Mushy rice is usually caused by too much water or overcooking. Measure carefully and the pressure to release naturally for only 10-15 minutes (not completely) for fluffy, tender rice.
Yes, not only can you make long and short grain brown rice in the Instant Pot, you can also cook red or black rice following this recipe.
More Cooking Basics Recipes
- Instant Pot Lentils
- Cauliflower Rice
- How to Cook Beans
- Instant Pot Steel Cut Oats
- Sweet Potato Puree
Save now, cook later.
Instant Pot Brown Rice
Video
Ingredients
- 2 cups brown rice, basmati, Jasmine, short grain, or long grain
- 2 ½ cups water or vegetable broth
- ½ teaspoon salt, optional
Instructions
- Add the rice, water (or broth), and salt to the Instant Pot.
- Pressure cook on HIGH for 24 minutes.
- Let the Instant Pot naturally release pressure for 10–15 minutes, then manually release any remaining pressure.
- Remove the lid, fluff the rice with a fork, and use as desired.
Notes
- Refrigerating: Once cooled to room temperature, store the rice in the fridge for up to 5 days.
- Freezing: Cooled rice can be frozen in a freezer-safe container for up to 3 months. For easier defrosting, freeze it in portions using a silicone tray.
- Reheating: Warm the rice in the microwave on gentle heat or in a saucepan with a splash of water or broth until heated through.
- Don’t Worry About Rinsing: While you can rinse the rice if you prefer, it’s not necessary. Simply add the dry rice to the pot with the liquid and salt, then start cooking—it’s that simple.
- Make a Large batch: I recommend cooking at least 2 cups at a time. Larger batches of rice tend to cook better in the Instant Pot thanks to better steam retention and a reduced risk of scorching or dry spots. To meal prep rice for the week, double or triple the recipe and pressure cook for the same amount of time (24 minutes); the Instant Pot will naturally adjust the time it takes to come to pressure.
- Fluff, Don’t Stir: Use a fork or rice spatula to gently fluff the rice, keeping the grains separate and releasing any trapped steam. Avoid stirring, as this can cause the grains to clump and create an inconsistent texture.
- Season After Pressure Cooking: While you can cook the rice with salt, other seasonings—such as fresh herbs, spices, and acidic ingredients—are best added after cooking for the brightest flavor and best texture.


Perfect brown basmati rice every time!
Wonderful! Thanks for sharing, Jennifer!
The one and only brown rice recipe I have been using for almost a decade. It’s perfectly fluffy and tender everytime!